Jak
A floating mantel is the perfect touch to complete a brick fireplace. Though mantels can be made from a variety of materials, a wooden shelf is an ideal complement to brick because it provides a contrasting texture that draws the eye and breaks up the monotony of the wall. Installing a mantel on a brick wall is a challenging but doable DIY project if you have the right tools and a little know-how. The following is a guide to installing a wooden mantel above a brick fireplace.
Choosing A Mantel
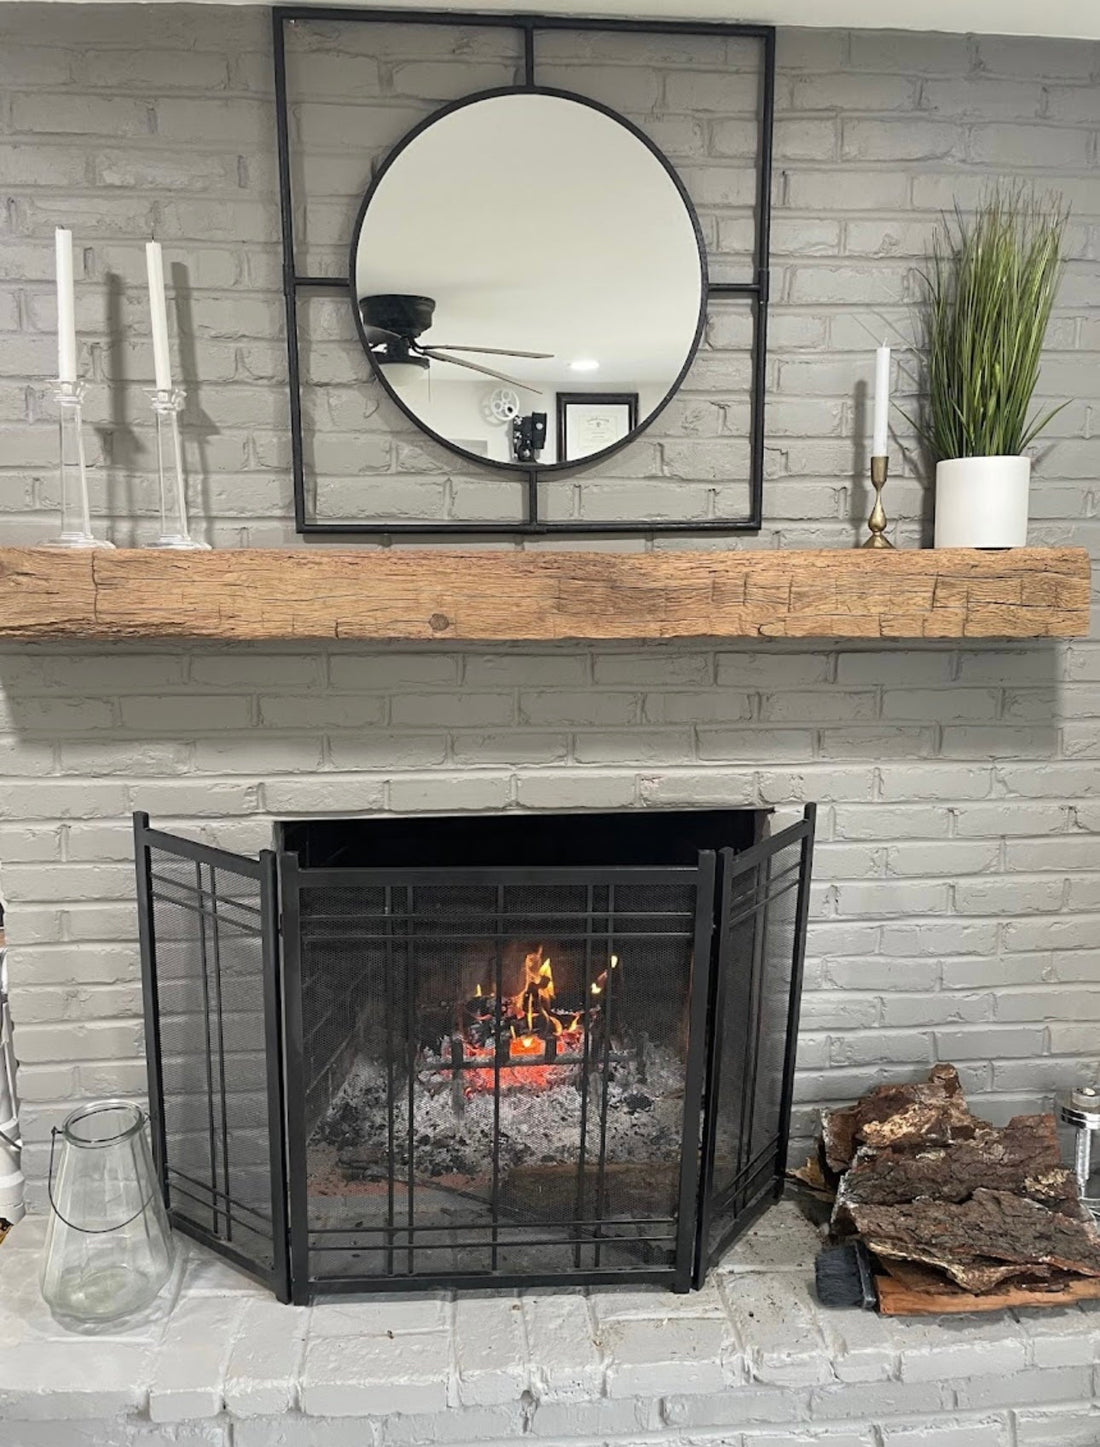
Of course, the very first step in adding a mantel above your brick fireplace is to find the perfect shelf. If you’re looking for a wooden mantel, one of the most popular options nowadays is a rustic shelf made of reclaimed barn wood. These shelves reveal the natural beauty of the wood along with knots in the wood and nail or saw marks. A slab of barn wood makes a truly unique mantel, especially if treated with high-quality wood oil.

Materials You Will Need
Besides your shelf, you’ll need to gather a few materials before you start the installation process. The following is a list of the tools and materials you’ll need to use:
- A pencil or chalk. You’ll use this for marking drilling positions.
- A drill. A regular, lightweight drill is fine for this project if you’re drilling into the mortar between the bricks, but you may need a heavy-duty hammer drill if you’re going to drill into the brick itself.
- Masonry drill bits. These carbide-tipped drill bits are important to have if you’re drilling into brick rather than mortar.
- Anchor sleeves. Sleeves are inserted into the drilled holes, and they grip the masonry and provide a secure point of insertion for the bolt.
- Lag bolts. Also known as lag screws, these bolts are designed to bear a much heavier load than other types of screws.
- Tape. You’ll use an opaque tape, such as masking tape or duct tape, to indicate your drilling depth on the drill bit.
- An angle grinder (optional) This is a tool for grinding metal, and you’ll be using it to remove the bolt heads. A metal blade on a hand saw will work as well
- Caulk and a caulking gun. You’ll use these to seal the gap between the mantel and the brick.
- A level. A long level is best for ensuring that the mantel is parallel to the ground.
Installation Process
Installing a mantel is a multi-step process that won’t take too long to complete, especially if you’re already familiar with using the tools.
Step 1: Mark The Wall
First, decide how high you want to place the mantel (the standard height of a mantel shelf is 5 feet above the ground) and mark the height on the wall with chalk or a pencil. Then mark the right and left edges of the shelf, ensuring that the mantel will be perfectly centered over the fireplace opening.
Finally, make marks every 16 inches along the wall where you’ll be drilling. If you don’t have a heavy-duty drill, mark the line of grout or mortar between the bricks that is closest to your desired height. Use the level to make sure that your marks are in a perfectly straight line.
Step 2: Drill The Holes
Using a 3/4-inch drill bit (for lag bolts), drill holes in the places you have marked. Your holes should be 3 inches deep, and you can place a piece of masking tape on the shaft of the drill bit 3 inches from the tip to make sure you don’t drill too deep. For bracket applications you will need a 5/16" drill bit.
Step 3: Insert The Sleeves
Once the holes are drilled, use a small wire brush or compressed air to clean out dust and debris. Next, you’ll insert an anchor sleeve into each hole. The diameter of the hole should be a little wider than the anchor so that it can fit all the way inside. You should be able to insert the sleeve by hand, but if it’s too difficult, tap it in with a hammer until it is flush with the wall.
Step 4: Insert the Lag Bolts or Use Provided Hardware
Now that the sleeves are in place, insert a lag bolt into each sleeve and tighten it with a screwdriver or drill until it is secure. Then, use the angle grinder to remove the head of each bolt. OR - should you choose to use our hardware, anchor the hardware to the brick using screws into the inserted sleeves
Step 5: Drill Holes In Back Of The Mantel
Mark a center point on the wall where the mantel will go. Make another center line mark on the mantel. These will correspond to help you line up the piece. Mark where the anchors or brackets line up on the mantel and drill the corresponding holes.
Step 6: Install The Mantel
Lift the mantel and place it so that the lag bolts or brackets fit into the holes. For extra security, coat the tip of each bolt with liquid nails or another adhesive just before installation.
Step 7: Caulk The Back Edge (optional)
Finally, use your caulking gun to apply a thin line of caulk between the back edge of the mantel and the brick wall of the fireplace. Caulk is purely an aesthetic detail, but it is a nice finishing touch.

A Few Tips For Success
If you follow the instructions above, you should be able to install a mantel shelf on your own. If your wood is especially heavy and you want to make sure it’s well supported, you can always use extra bolts. Just make the holes 10 inches apart or even less. It can also help to have an extra pair of hands, especially when it’s time to lift and place the mantel onto the bolts. You’ll need some power to push hard and make sure the bolts are all the way in.
A reclaimed barn wood fireplace mantel is the perfect display shelf for family photos, artwork, a vase of cut flowers, or any object you choose to decorate your space. Adding decor to your newly installed mantel will make your fireplace look and feel like the heart of your home.

Written by Jake Park
Jake is the founder of Modern Timber Craft and is a seasoned reclaimed woodworking enthusiast with over 20 years experience.