Authentic Barnwood Paneling
-
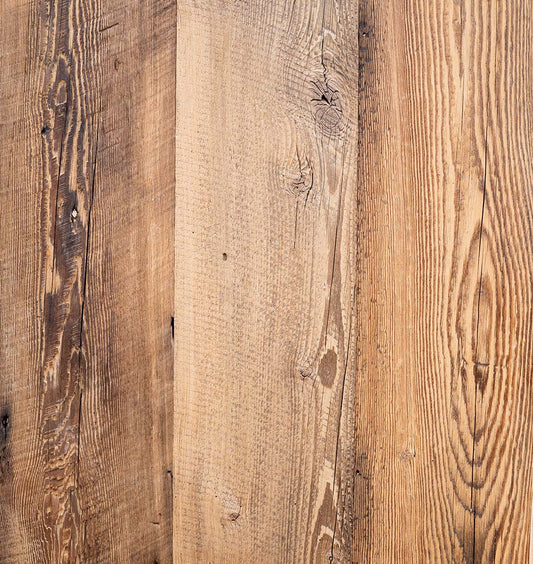
Mixed Species Brown Barnwood Paneling | Reclaimed Wood Wall Planks
Regular price $184.00 USDRegular priceUnit price per$0.00 USDSale price $184.00 USD -
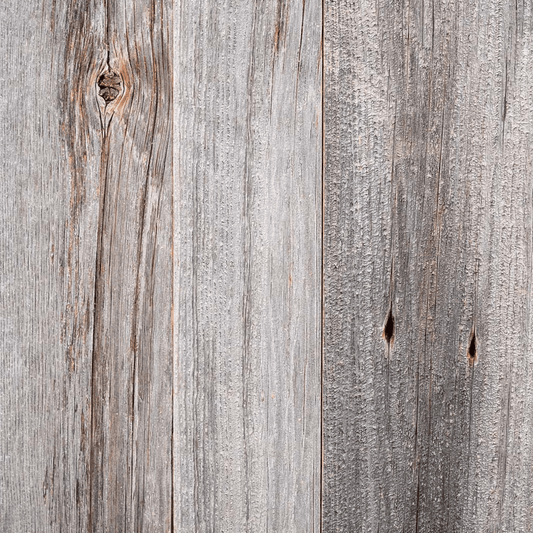
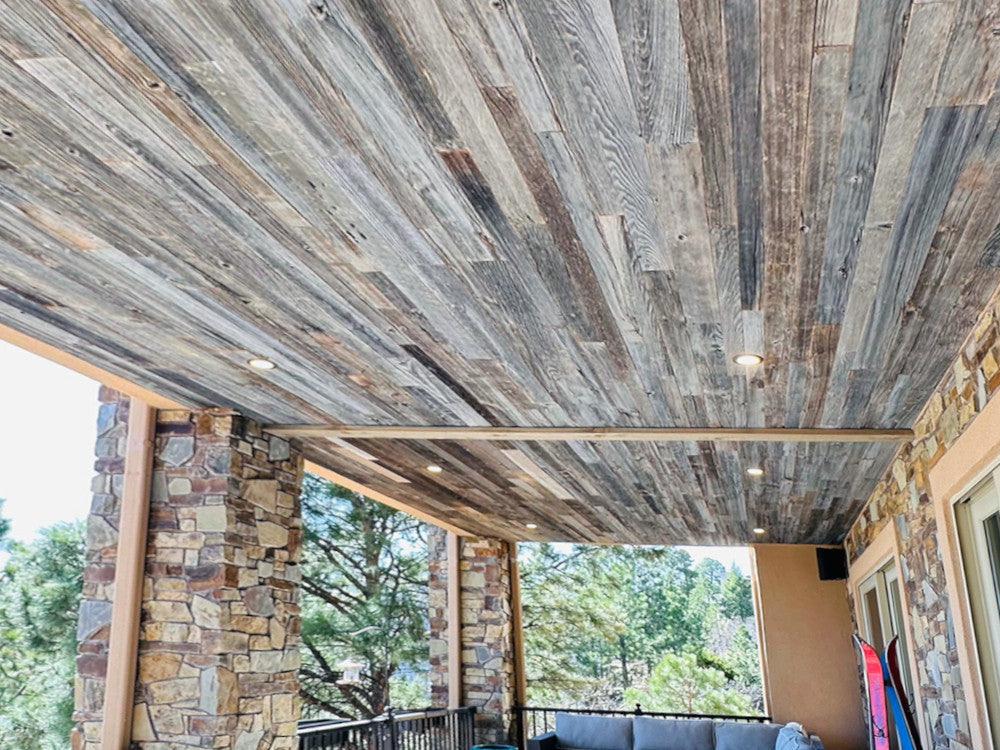
Weathered Grey Barnwood Paneling | Reclaimed Wood Wall and Ceiling Planks
Regular price $195.60 USDRegular priceUnit price per$0.00 USDSale price $195.60 USD -
Mixed Species Brown Skip-Planed Barnwood Paneling | Reclaimed Wood Wall Planks
Regular price $184.00 USDRegular priceUnit price per$0.00 USDSale price $184.00 USD -
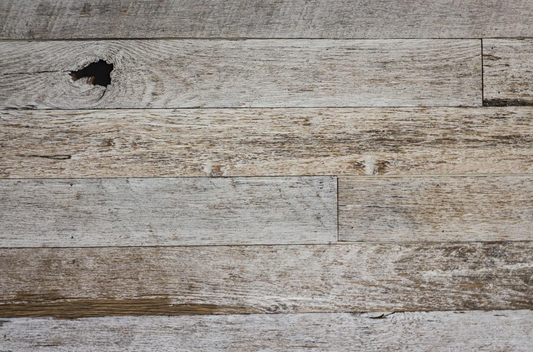
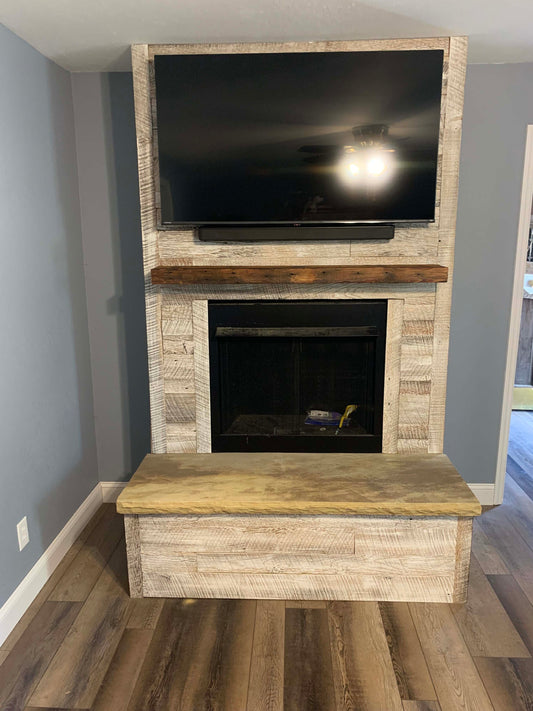
Antique Rustic White Barnwood Wall Paneling
Regular price $195.60 USDRegular priceUnit price per$0.00 USDSale price $195.60 USD
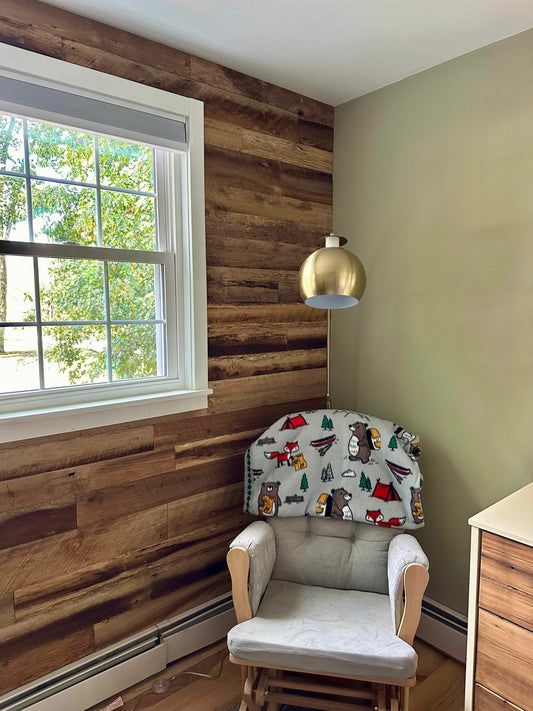
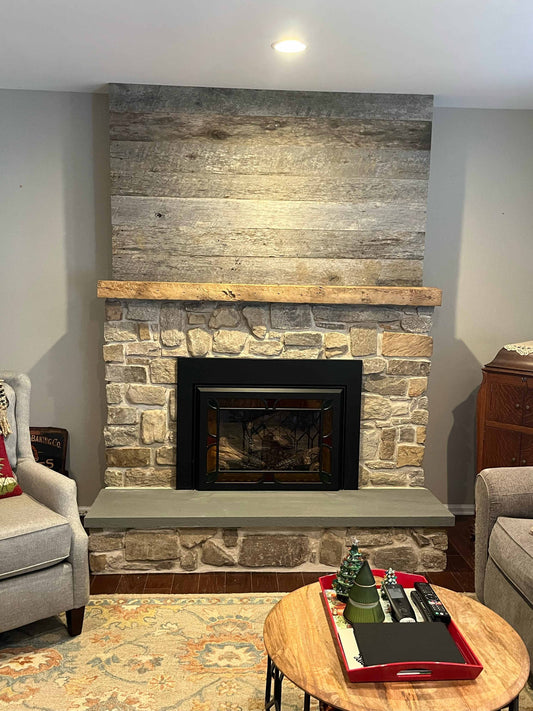

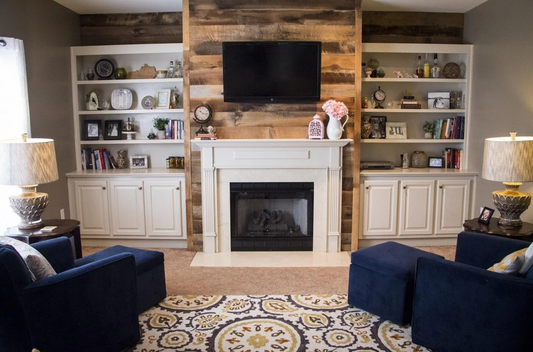
Beautiful, Easy-to-Install, Authentic, Reclaimed Barnwood Paneling for Walls and Ceilings
Reclaimed Wood Paneling
Welcome to our world of rustic charm and timeless elegance with Barnwood Paneling! Immerse yourself in the warmth and character of reclaimed wood as you transform your walls and ceilings into stunning focal points that tell a story.
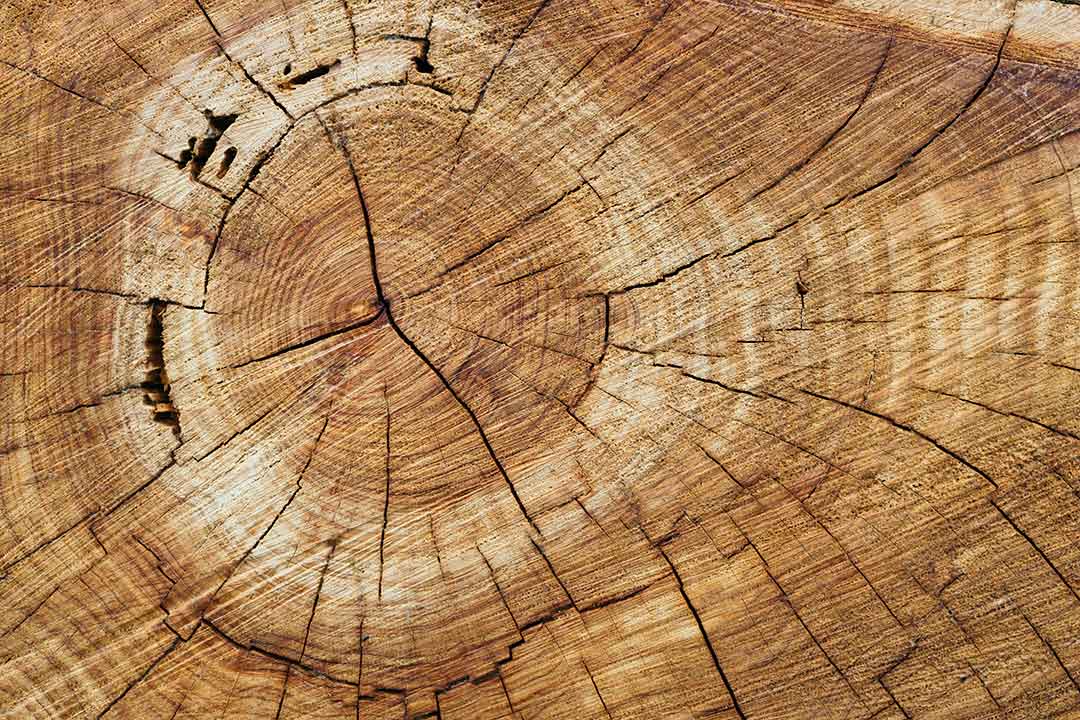
Our barn siding is crafted from carefully sourced reclaimed wood, lovingly salvaged from old barns and other closely related structures with the right amount of patina and character. Each plank carries the marks of its previous life, adding unique textures, weathered patinas, and a sense of history to your space. No two planks are alike, ensuring an authentic and one-of-a-kind aesthetic that will captivate anyone who enters.
-
Authentic Reclaimed Wood
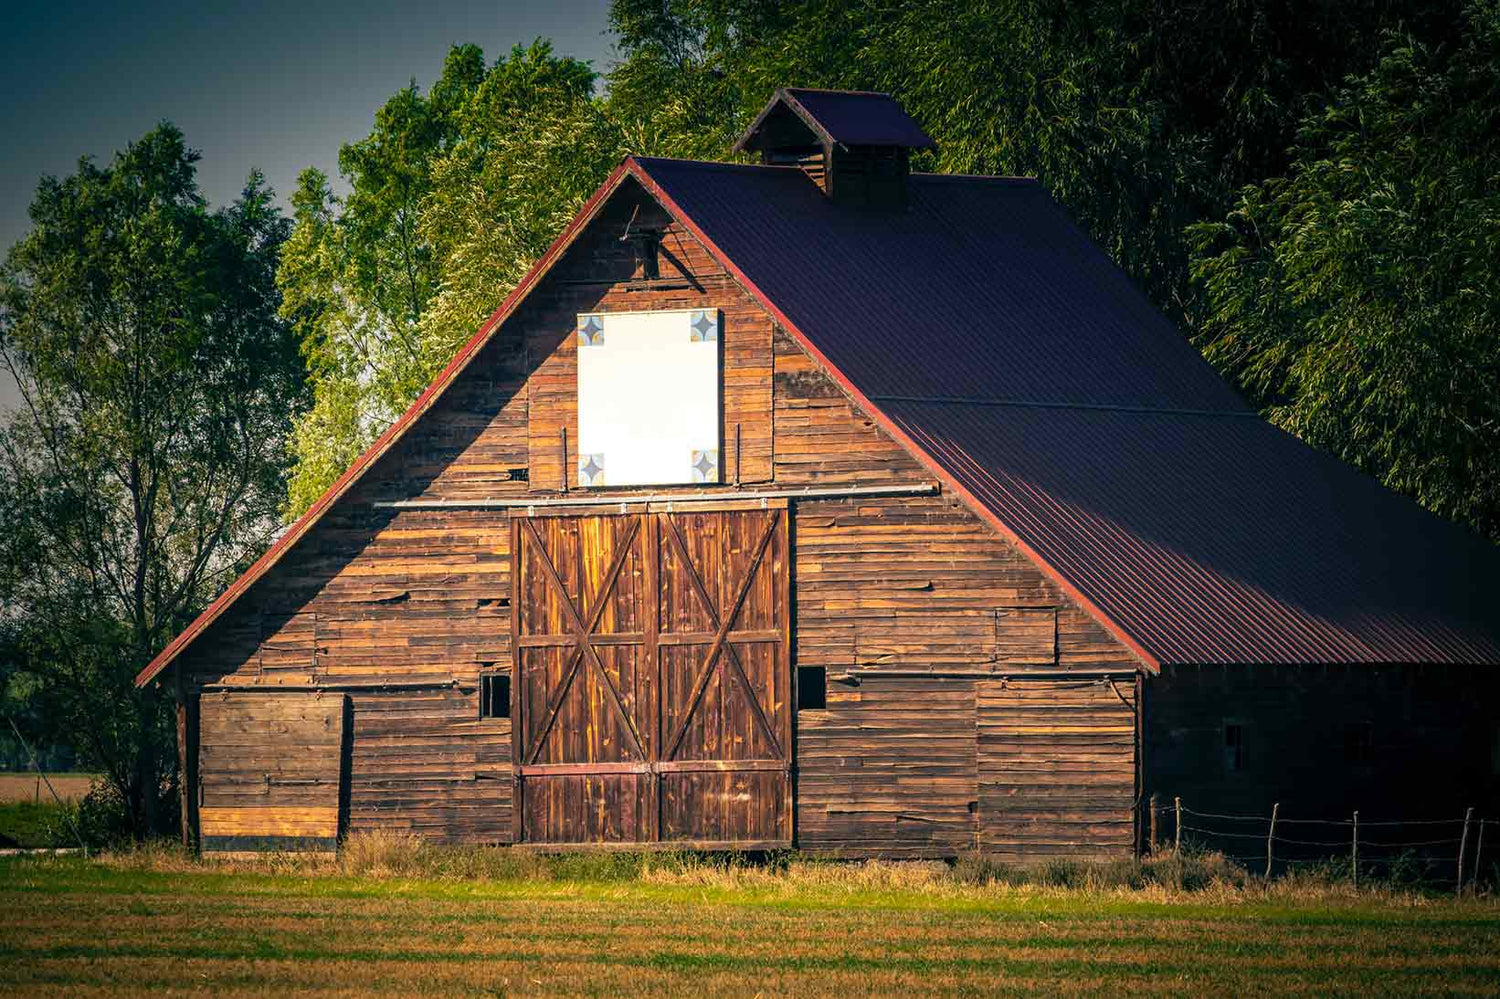
All of our materials come from historic barns and other structures dating from the late 1700s to the early 1900s. Our mantels are made from high-quality reclaimed wood that has been salvaged from old barns, homes, and buildings, giving each piece a unique and authentic look that cannot be replicated. A custom letter is sent with every order letting you know the specific history of your piece.
-

Family Owned & Operated
Modern Timber Craft started in 2014 from a love of old barns and historic buildings. Nearly 10 years into this, my wife Raquel, our dog Bear, and I, along with an amazing group of people behind the scenes help us to continue this adventure. We are passionate about creating an experience our customers will enjoy and remember while providing them with a unique and authentic piece of history.
-

Made in the USA
All of our material is not only certified reclaimed, but also made and repurposed in the USA. Salvaged from historic American structures within the eastern portion of the United States and prepared in PA to be the focal point in your home.


Details
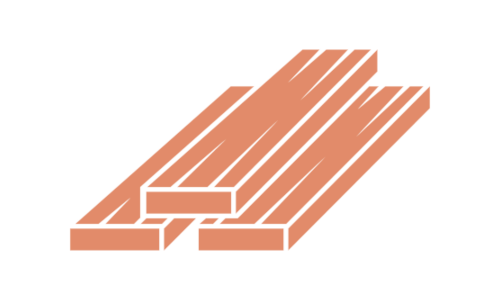
Our authentic reclaimed wood wall paneling planks come in 20 sq/ft boxes and varied widths from 3 to 6 inches. There will be variable numbers of unique grain variations, knots, and other characteristics. Keep in mind, these are authentic reclaimed pieces of wood so no two are the same.
Images shown are only representations of the pieces that you will receive. Due to the nature and origin of these boards, your pieces may differ slightly. Sample pieces are available, so this is encouraged to help ensure you get exactly what you want.
Specifications
Thickness: 3/8" (+/- 1/16")
Widths: comes in 2 to 6 inch varied widths
Lengths: 1 to 6 foot varied lengths
Special traits: Reclaimed, Antique, Paneling, Wall Planks, Barn Wood, Vintage, Industrial
Finish: Unfinished/Natural
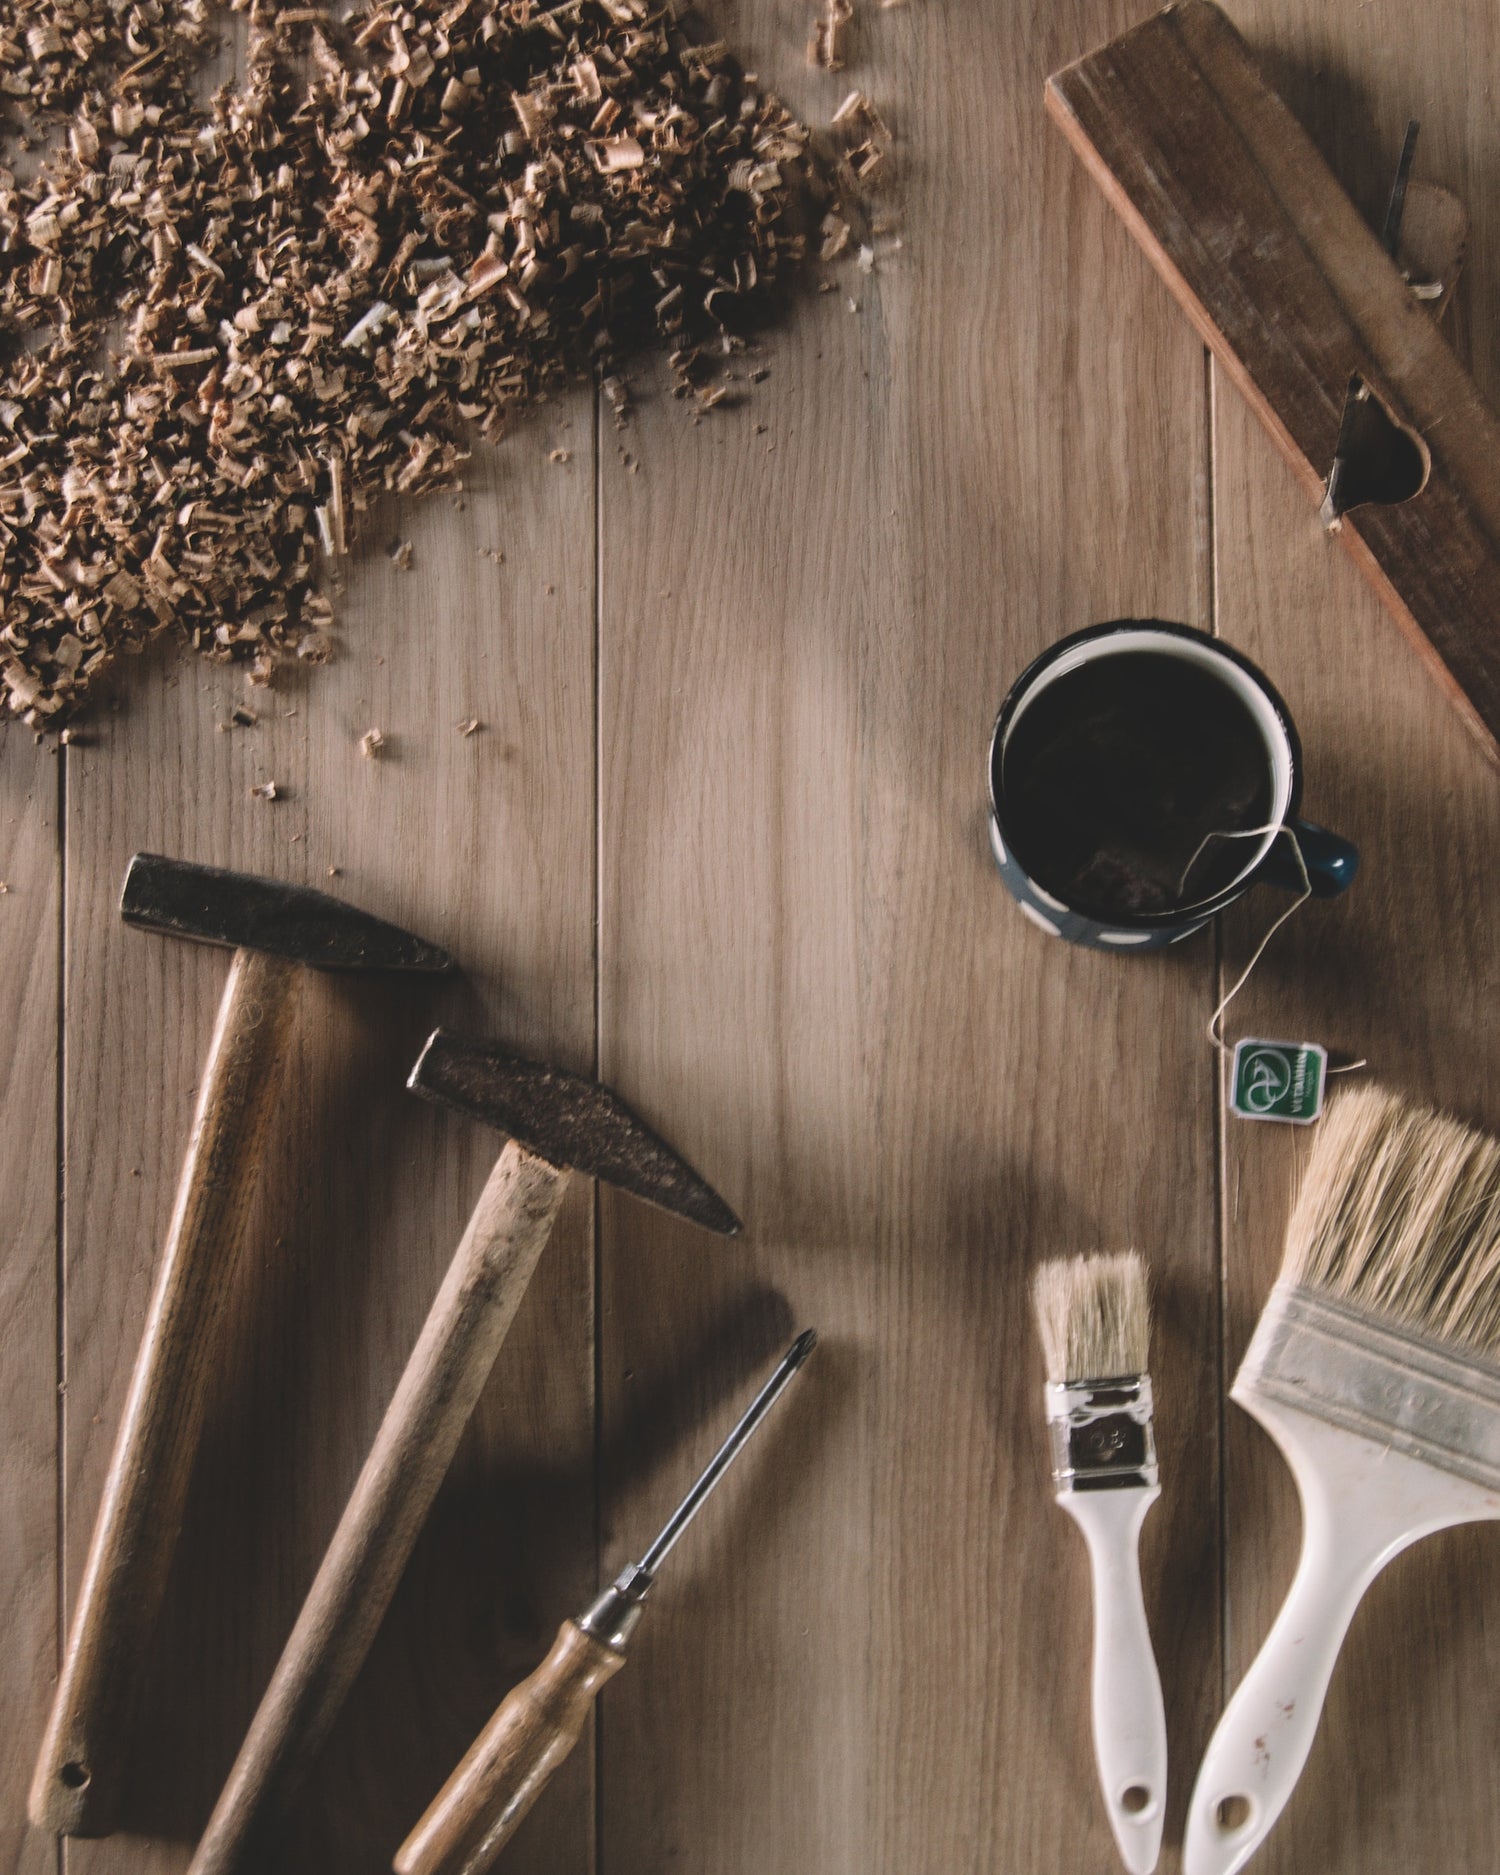
Installation: Nail, staple, or glue attachment
Our Roots
All of our wood materials come from historic barns and other structures in Pennsylvania and Eastern Maryland. The warmth and beauty that these authentic reclaimed wood floors provide is second to none. We take pride in knowing we are doing our part to help maximize our forests sustainability by re-using what is already available. We know you will love your reclaimed wood floor and you can rest assured they will stand the test of time.